How to Troubleshoot and Fix a Samsung Refrigerator Not Cooling
How to Troubleshoot and Fix a Samsung Refrigerator Not Cooling: Having a Samsung refrigerator that is not cooling properly can be a frustrating experience. Your food may spoil, and you may be left wondering what could be causing the issue. In this comprehensive guide, we will walk you through the troubleshooting process step by step, helping you identify and fix the problem with your Samsung refrigerator.
Samsung is a global electronics company that was founded in South Korea in 1969. It produces a wide range of products, including refrigerators, which come in various styles and features. Some of the innovative features that Samsung offers in its refrigerators are:
- Bespoke Counter Depth 4-Door Flex Refrigerator: This model allows you to customize the design and color of your refrigerator, as well as the functionality of the bottom-right compartment, which can be used as a fridge or a freezer.
- EZ-Open Handle: This feature makes it easy to open the freezer door with minimal effort, even when it is fully packed.
- Digital Inverter Technology: This technology adjusts the compressor speed according to the cooling demand, which reduces energy consumption and noise, and extends the lifespan of the refrigerator.
Samsung refrigerators are known for their durability and reliability, as they have been certified by the Verband Deutscher Elektrotechniker (VDE), an independent testing institute, for their 20-year lifespan. Samsung also has a history of developing innovative refrigerators that meet the needs and preferences of customers. For example, in 1995, Samsung developed a refrigerator featuring an independent fridge and freezer, which had the benefit of saving energy and reinforcing the cooling system.
Samsung refrigerators are a great choice for anyone looking for a high-quality, modern, and customizable appliance that can keep your food fresh and your energy bills low.
READ ALSO: LG Refrigerator Not Cooling: Causes and Solutions
How to Fix Samsung Refrigerator Not Cooling
Are you facing the frustration of a malfunctioning Samsung refrigerator that just won’t freeze properly? Don’t panic! This guide will walk you through a series of easy steps you can take to diagnose and potentially fix the issue yourself, saving you both time and money.
Important Note: While these steps can be helpful, remember that some repairs may require the expertise of a qualified appliance technician. If you’re uncomfortable performing any of these steps or suspect a more complex issue, don’t hesitate to seek professional help.
Before we begin, it’s important to note that the troubleshooting steps provided in this guide are applicable to various Samsung refrigerator models, including RB217ABPN, RF217ACPN, RF217ACRS, RF266ABPN, RF266AEPN, RF267ABRS, RF267AERS, RF268ABRS, RF4287HARS, RFG297AARS, and many more.
Let’s dive into the troubleshooting process and get your Samsung refrigerator back to its optimal cooling performance.
Step 1: Check the Condenser Coils
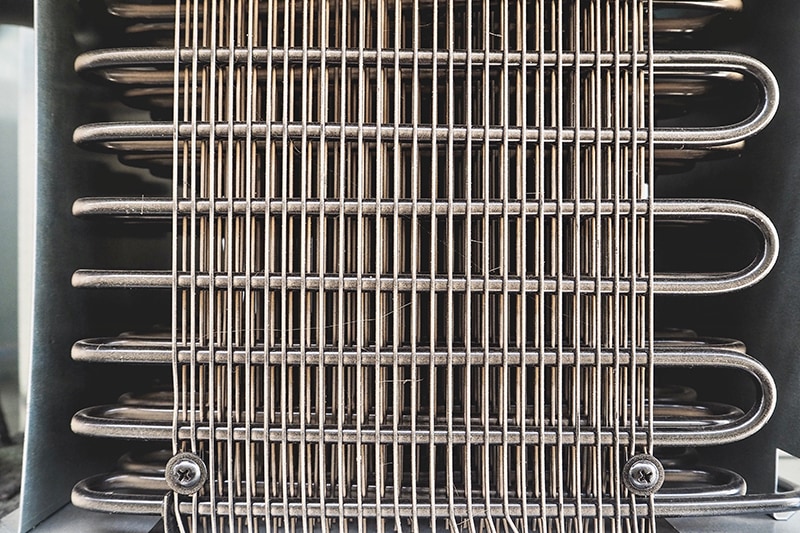
The condenser coils are located at the back of your Samsung refrigerator and play a crucial role in cooling. Over time, these coils can become dirty or covered in frost, hindering their ability to cool effectively. To check the condenser coils and clean them if necessary, follow these steps:
- Switch off the power to your Samsung refrigerator.
- Gently pull the appliance away from the wall to access the coils.
- Locate the coils and remove the cover.
- If the coils are covered in frost, leave the refrigerator turned off to allow the ice to defrost. Once defrosted, wipe the coils with a clean cloth.
- If the coils are dirty, use a cloth or a vacuum cleaner to remove any dust or debris.
- Once the coils are clean and/or defrosted, restore power to the refrigerator.
- Monitor the appliance for the next 12 hours to see if it starts cooling properly. If the issue persists, proceed to the next step.
Step 2: Verify the Condenser Fan
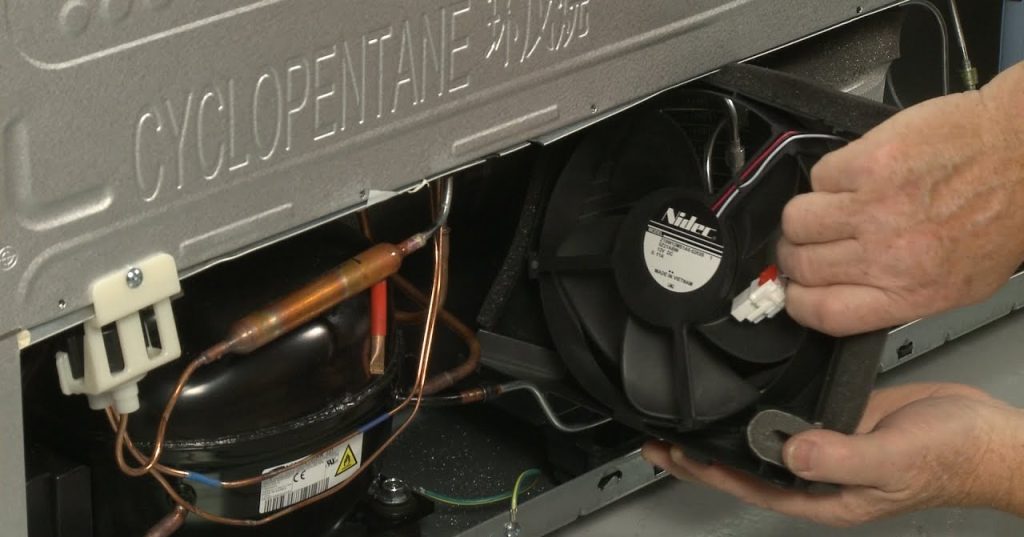
If cleaning the condenser coils didn’t resolve the cooling issue, the next component to check is the condenser fan. The condenser fan helps keep the coils cool, and if it is faulty or not functioning correctly, it can impact the cooling performance of your Samsung refrigerator. Follow these steps to verify the condenser fan:
- Turn off the power to your refrigerator.
- Pull the appliance away from the wall for easy access to the condenser fan.
- Locate the fan and remove the cover.
- Try manually rotating the fan 360 degrees. If there is any obstruction, remove it. If the fan is covered in ice, allow it to defrost before turning the refrigerator back on.
- Once you’ve ensured the fan can rotate freely, use a multimeter to check the fan motor for continuity.
- If the fan motor has continuity, it is working correctly. Replace the cover and proceed to the next step if the cooling problem persists. If there is no continuity, replace the fan motor.
- After installing a new fan motor, check if your refrigerator is now cooling properly. If not, proceed to the next step.
Step 3: Inspect the Evaporator Fan
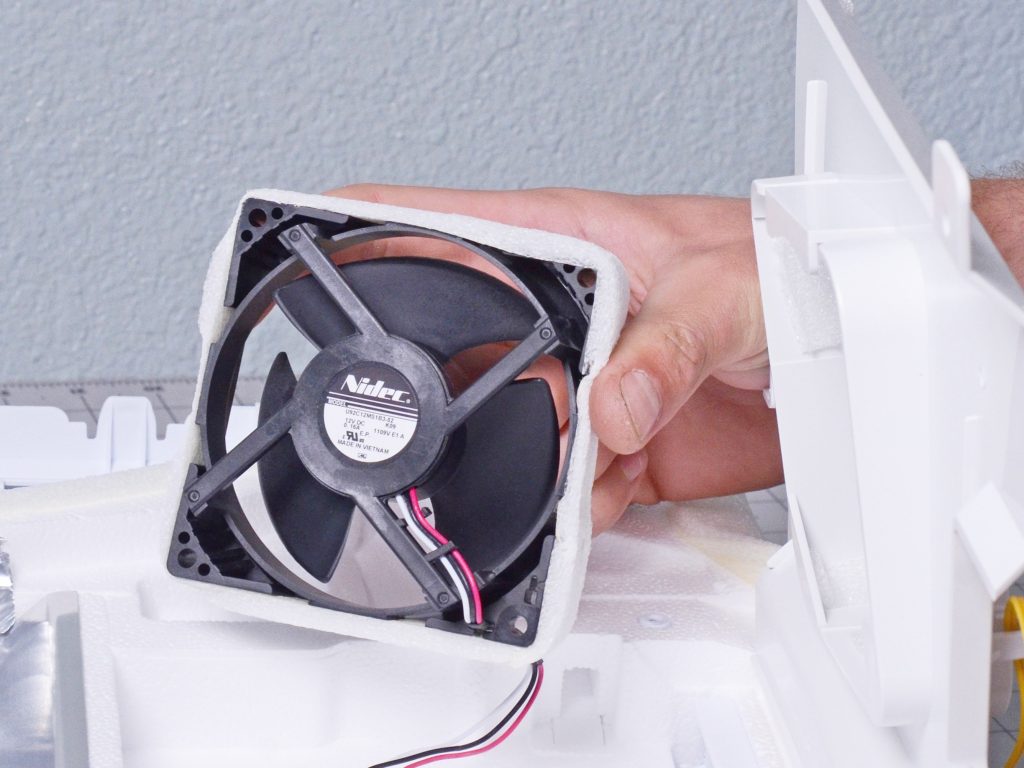
The evaporator fan is responsible for circulating cold air from the freezer compartment into the refrigerator section. If this fan is not functioning correctly, it can lead to inadequate cooling in your Samsung refrigerator. To inspect the evaporator fan, follow these steps:
- Turn off the power to your refrigerator.
- Open the freezer door and locate the evaporator fan.
- Remove the cover and try manually rotating the fan 360 degrees. Clear any obstructions if present. If the fan is covered in ice, allow it to defrost before turning the refrigerator back on.
- Once you’ve ensured the fan can rotate freely, use a multimeter to check the fan motor for continuity.
- If the fan motor has continuity, it is functioning properly. Replace the cover and proceed to the next step if the cooling issue persists. If there is no continuity, replace the fan motor.
- After installing the new evaporator fan motor, check if your refrigerator is now cooling as expected. If not, proceed to the next step.
Step 4: Check the Start Relay
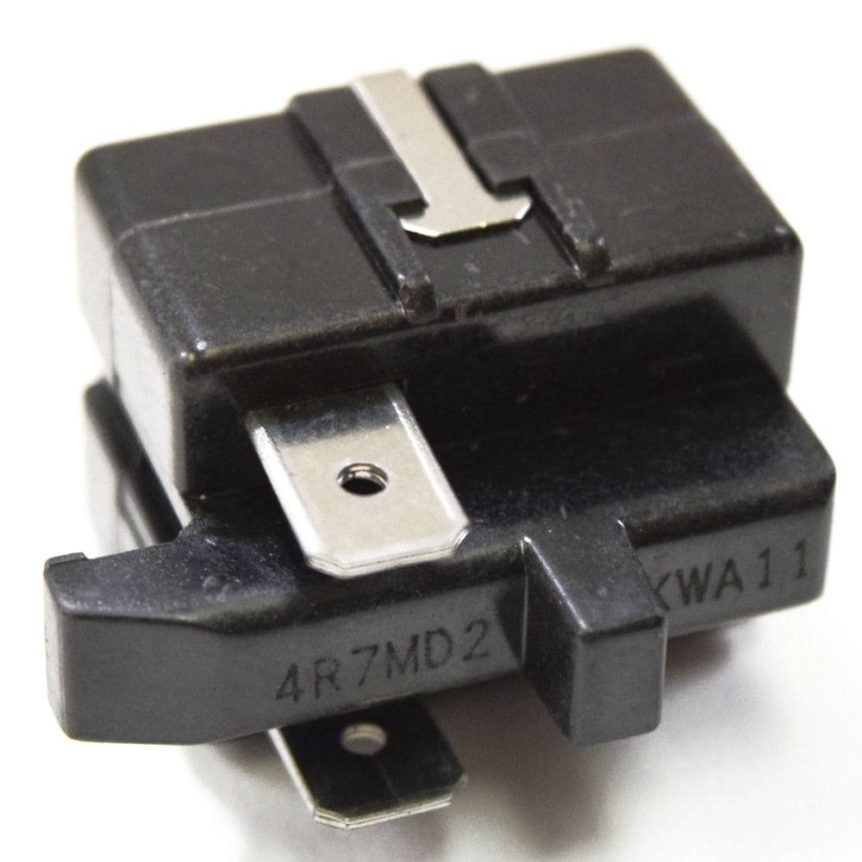
The start relay is responsible for initiating the compressor’s operation. If the start relay is defective, the compressor may not start, leading to inadequate cooling in your Samsung refrigerator. To check the start relay, follow these steps:
- Turn off the power to your refrigerator.
- Locate the start relay (refer to your owner’s manual if needed).
- Disconnect the start relay and use a multimeter to test it for continuity.
- If the start relay has continuity, reattach it and proceed to the next step if the cooling problem persists. If there is no continuity, replace the start relay.
- After installing a new start relay, switch the power back on and check if your refrigerator is now cooling properly. If not, move on to the next step.
Step 5: Inspect the Temperature Control Thermostat
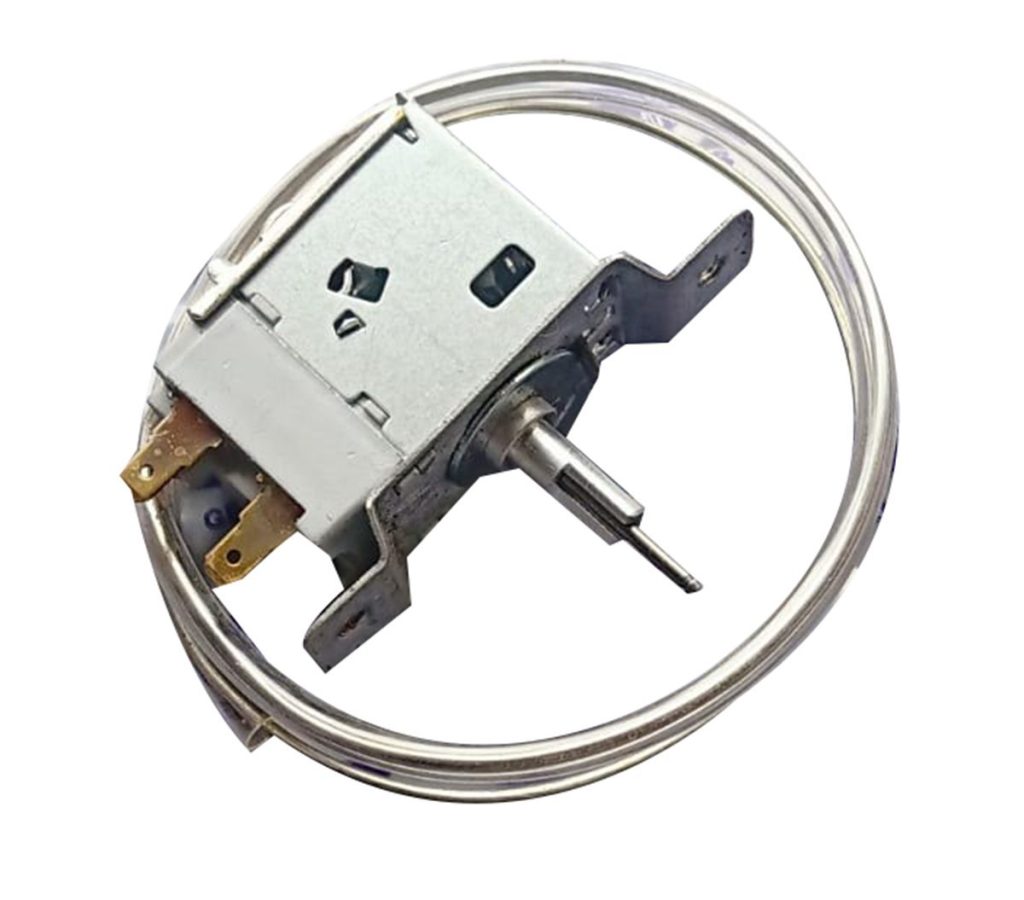
The temperature control thermostat monitors the temperature inside your refrigerator and communicates with the control board to regulate cooling. If the thermostat is defective, it may not accurately record the temperature, leading to cooling issues. To inspect the temperature control thermostat, follow these steps:
- Turn off the power to your refrigerator.
- Locate the temperature control thermostat (refer to your owner’s manual if needed).
- Disconnect the thermostat and test it for continuity using a multimeter.
- If the thermostat has continuity, reattach it and proceed to the next step if the cooling issue persists. If there is no continuity, replace the thermostat.
- After installing a new temperature control thermostat, switch the power back on and check if your refrigerator is now cooling as expected. If not, move on to the next step.
Step 6: Check the Start Capacitor
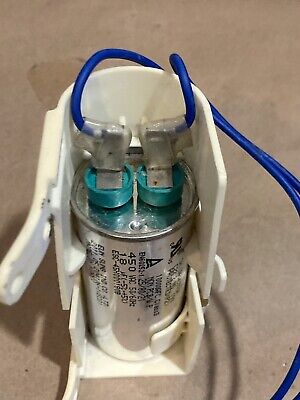
The start capacitor helps the compressor start up smoothly. If the start capacitor is defective, it may prevent the compressor from starting, resulting in inadequate cooling. To check the start capacitor, follow these steps:
- Turn off the power to your refrigerator.
- Locate the start capacitor (refer to your owner’s manual if needed).
- Disconnect the start capacitor and test it for continuity using a multimeter.
- If the start capacitor has continuity, reattach it and proceed to the next step if the cooling problem persists. If there is no continuity, replace the start capacitor.
- After installing a new start capacitor, switch the power back on and check if your refrigerator is now cooling properly. If not, move on to the next step.
Step 7: Inspect the Thermistor
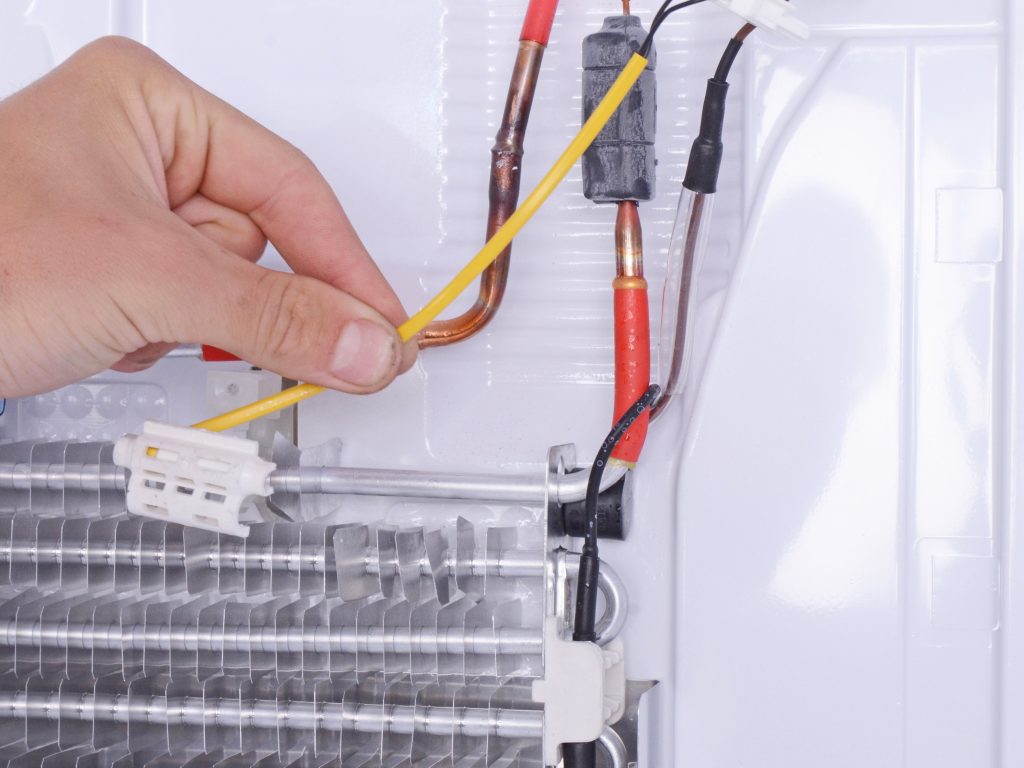
The thermistor monitors the temperature inside your refrigerator and relays this information to the main control board. If the thermistor is defective, it may not accurately detect the temperature, leading to cooling issues. To inspect the thermistor, follow these steps:
- Turn off the power to your refrigerator.
- Locate the thermistor (refer to your owner’s manual if needed).
- Disconnect the thermistor and test it for continuity using a multimeter.
- If the thermistor has continuity, reattach it and proceed to the next step if the cooling issue persists. If there is no continuity, replace the thermistor.
- After installing a new thermistor, switch the power back on and check if your refrigerator is now cooling properly. If not, move on to the next step.
Step 8: Check the Compressor
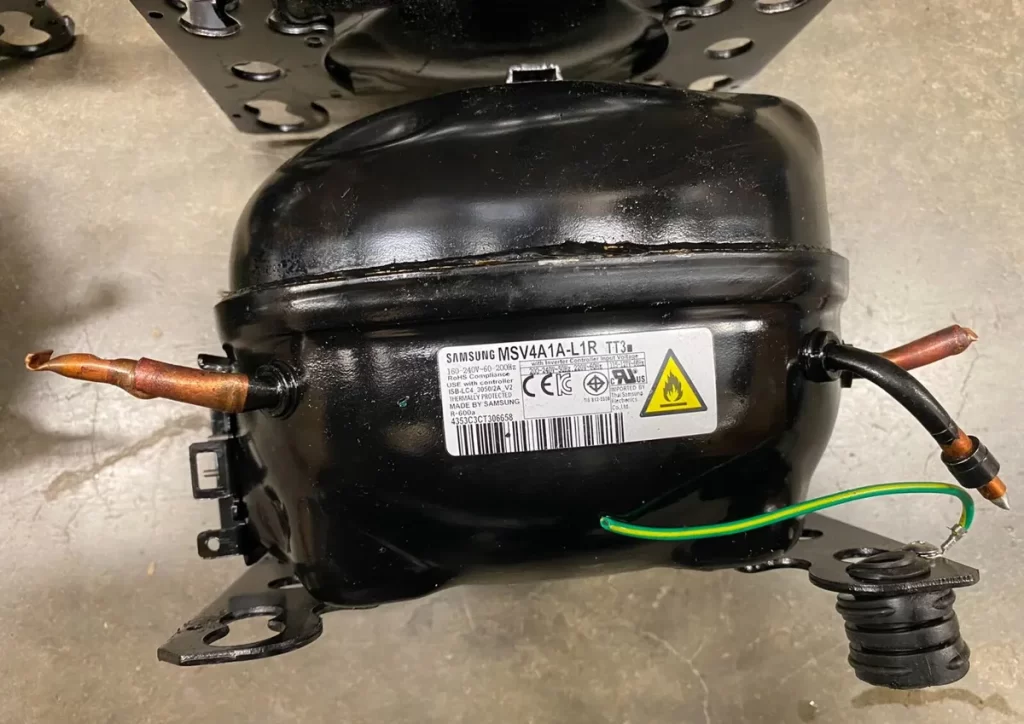
The compressor is the heart of your refrigerator’s cooling system. It circulates refrigerant, enabling the cooling process. If the compressor is defective, it may need to be replaced. Checking and replacing the compressor is a complex task best left to a qualified technician. If you suspect a faulty compressor, contact a professional for assistance.
Step 9: Replace the Main Control Board
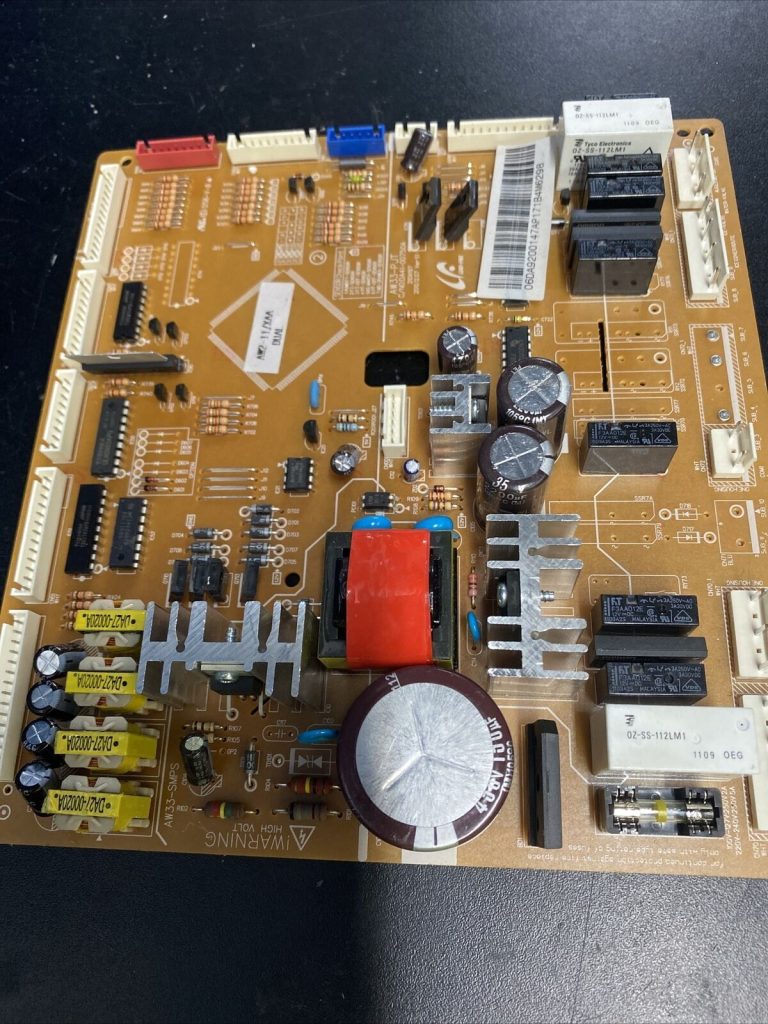
If none of the previous steps resolved the cooling issue, it may be necessary to replace the main control board. The control board is responsible for coordinating the operation of various components in your refrigerator. Replacing the control board can be challenging, and it is recommended to seek professional assistance or contact Samsung customer support.
CHECK OUT: GE Refrigerator Not Cooling: Causes and Solutions
Conclusion
Troubleshooting a Samsung refrigerator that is not cooling requires a systematic approach. By following the steps outlined in this guide, you can identify and resolve common cooling issues. Remember to prioritize safety by disconnecting the power before performing any inspections or repairs. If you are unsure or uncomfortable with any step, it is always best to consult a professional technician.
Maintaining a well-functioning refrigerator is essential for preserving food freshness and preventing spoilage. By addressing cooling issues promptly, you can ensure your Samsung refrigerator operates efficiently and keeps your food at optimal temperatures.
About Author
Anselam Ozioma
Anselam Ozioma is the founder and editor of refrigeratorfixes.com, a website dedicated to providing helpful and practical information and solutions for various refrigerator issues. Anselam Ozioma is a certified refrigerator technician with over 10 years of experience in repairing and maintaining different brands and models of refrigerators. He is passionate about sharing his knowledge and expertise with his readers and helping them to troubleshoot and fix their refrigerator problems. Anselam Ozioma also reviews and recommends the best refrigerators and accessories on the market, based on his personal and professional experience. Anselam Ozioma lives in Abuja, Nigeria, with his wife and two children. When he is not working on his website or fixing refrigerators, he enjoys reading, playing soccer, and spending time with his family.